

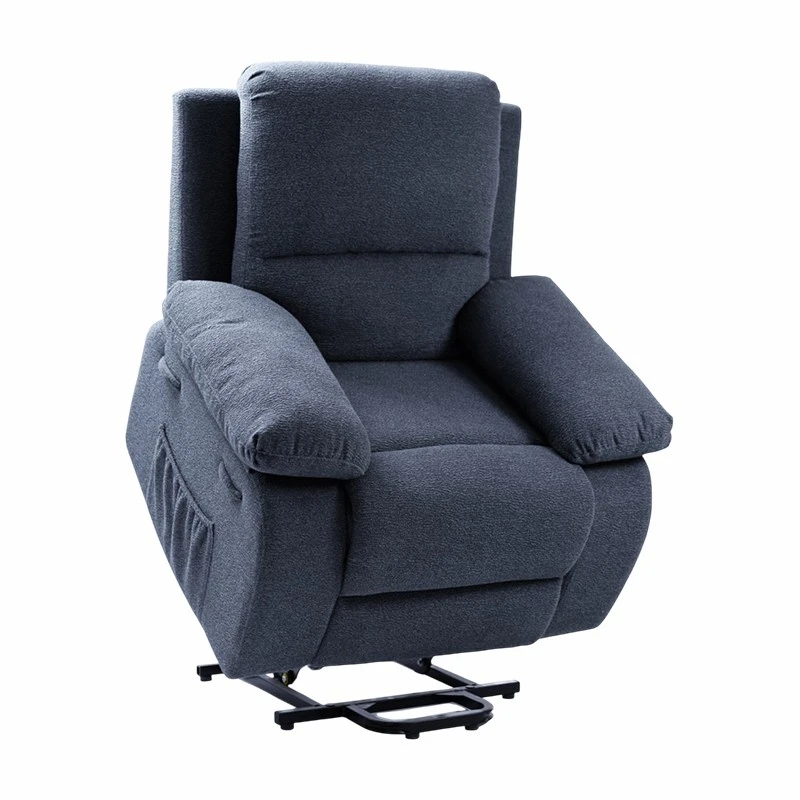
Repairing a damaged rocking power lift chair can seem like a daunting task, but with the right knowledge and approach, it can be a manageable DIY project. As a supplier of these chairs, I've encountered various issues and have learned effective repair methods. In this blog, I'll guide you through the process of diagnosing and fixing common problems with rocking power lift chairs.
Identifying the Problem
The first step in repairing a rocking power lift chair is to accurately identify the problem. Here are some common issues and how to spot them:

Electrical Problems
- No Power: If the chair doesn't turn on at all, check the power cord. Make sure it's properly plugged into a working outlet. You can also test the outlet with another device to confirm it's supplying power. If the cord is damaged, it will need to be replaced.
- Intermittent Power: This could be due to a loose connection in the wiring or a faulty switch. Inspect the wiring for any signs of damage, such as frayed wires or loose connections. Check the control switch to ensure it's functioning properly.
Mechanical Problems
- Difficulty Rocking: If the chair is having trouble rocking smoothly, it could be due to a jammed rocking mechanism. Check for any debris or objects that might be blocking the movement. Lubricate the moving parts with a suitable lubricant to reduce friction.
- Lifting Issues: If the chair doesn't lift or lower properly, it could be a problem with the lift motor or the hydraulic system. Listen for any unusual noises when the chair is operating, as this could indicate a mechanical issue. Check the hydraulic hoses for leaks and the motor for any signs of damage.
Upholstery and Padding Problems
- Torn Upholstery: Over time, the upholstery on the chair may become torn or worn. Inspect the fabric for any tears or holes. Small tears can often be repaired with fabric glue or a patch kit. Larger tears may require professional upholstery repair.
- Flat Padding: If the padding in the chair has become flat or uncomfortable, it can be replaced. Remove the old padding and measure the dimensions to purchase the appropriate replacement.
Tools and Materials Needed
Before you start the repair process, gather the following tools and materials:
- Screwdriver set
- Pliers
- Wrench set
- Lubricant
- Electrical tape
- Replacement parts (such as power cords, switches, hydraulic hoses, etc.)
- Fabric glue or patch kit
- Replacement padding
Step-by-Step Repair Guide
Electrical Repairs
- Disconnect the Power: Before working on any electrical components, always disconnect the chair from the power source to prevent electric shock.
- Inspect the Wiring: Carefully examine the wiring for any signs of damage. If you find any frayed wires, use electrical tape to repair them. If the damage is more severe, you may need to replace the entire wire.
- Test the Control Switch: Use a multimeter to test the control switch for continuity. If the switch is faulty, replace it with a new one.
- Check the Power Cord: If the power cord is damaged, cut off the damaged section and splice in a new cord using wire connectors. Make sure to follow the manufacturer's instructions for proper wiring.
Mechanical Repairs
- Clean the Rocking Mechanism: Remove any debris or dirt from the rocking mechanism using a brush or compressed air. Lubricate the moving parts with a silicone-based lubricant to ensure smooth operation.
- Check the Lift Motor and Hydraulic System: Inspect the lift motor for any signs of damage or overheating. If the motor is making unusual noises or not functioning properly, it may need to be replaced. Check the hydraulic hoses for leaks and tighten any loose connections.
- Adjust the Tension: If the chair is too loose or too tight when rocking, you can adjust the tension on the rocking mechanism. Refer to the manufacturer's instructions for the specific adjustment method.
Upholstery and Padding Repairs
- Repair Torn Upholstery: If the upholstery has a small tear, apply fabric glue to the edges of the tear and press them together. For larger tears, use a patch kit to cover the damaged area. Make sure to match the fabric color and texture as closely as possible.
- Replace the Padding: Remove the old padding from the chair and measure the dimensions. Purchase the appropriate replacement padding and cut it to size. Insert the new padding into the chair and secure it in place.
Preventive Maintenance
To keep your rocking power lift chair in good condition and prevent future problems, follow these preventive maintenance tips:
- Regular Cleaning: Vacuum the chair regularly to remove dirt and debris. Wipe down the upholstery with a damp cloth to keep it clean.
- Lubrication: Lubricate the moving parts of the chair every few months to ensure smooth operation.
- Avoid Overloading: Do not exceed the weight capacity of the chair to prevent damage to the lift motor and other components.
- Proper Use: Use the chair according to the manufacturer's instructions to avoid unnecessary wear and tear.
Conclusion
Repairing a damaged rocking power lift chair can be a rewarding DIY project. By following the steps outlined in this blog, you can diagnose and fix common problems with your chair. Remember to always prioritize safety and follow the manufacturer's instructions when working on the chair. If you're unsure about any aspect of the repair process, it's best to consult a professional.
If you're in the market for a new rocking power lift chair, we offer a wide range of options to suit your needs. Check out our Power Lift Chair with Swivel Base, Fully Reclining Power Lift Chair, and Power Lift Chair with Heat. If you have any questions or would like to discuss your purchasing options, please don't hesitate to contact us for a procurement negotiation.
References
- Manufacturer's instructions for rocking power lift chairs
- DIY repair guides for furniture and electrical appliances